
Tracking non-labor expenses can be crucial for accurate cost tracking in any Microsoft Project schedule. In this post, I’ll show you how to create and assign Expense Cost resources in Microsoft Project. So, let’s dive in!
Companion Articles in This Resources, Assignments & Cost Management Series: Explore these connected tutorials in the same topic area to build your skills step by step:
- Current Article (You Are Here): How to Create and Assign Expense Cost Resources in Microsoft Project
- Companion Tutorial: How to Assign Resources to Tasks in Microsoft Project
- Companion Tutorial: Effort-Driven Scheduling in Microsoft Project Explained
- Companion Tutorial: How to Enter and Track Fixed Costs in Microsoft Project
- Full Topic Hub: Browse All Resources & Cost Management Tutorials →
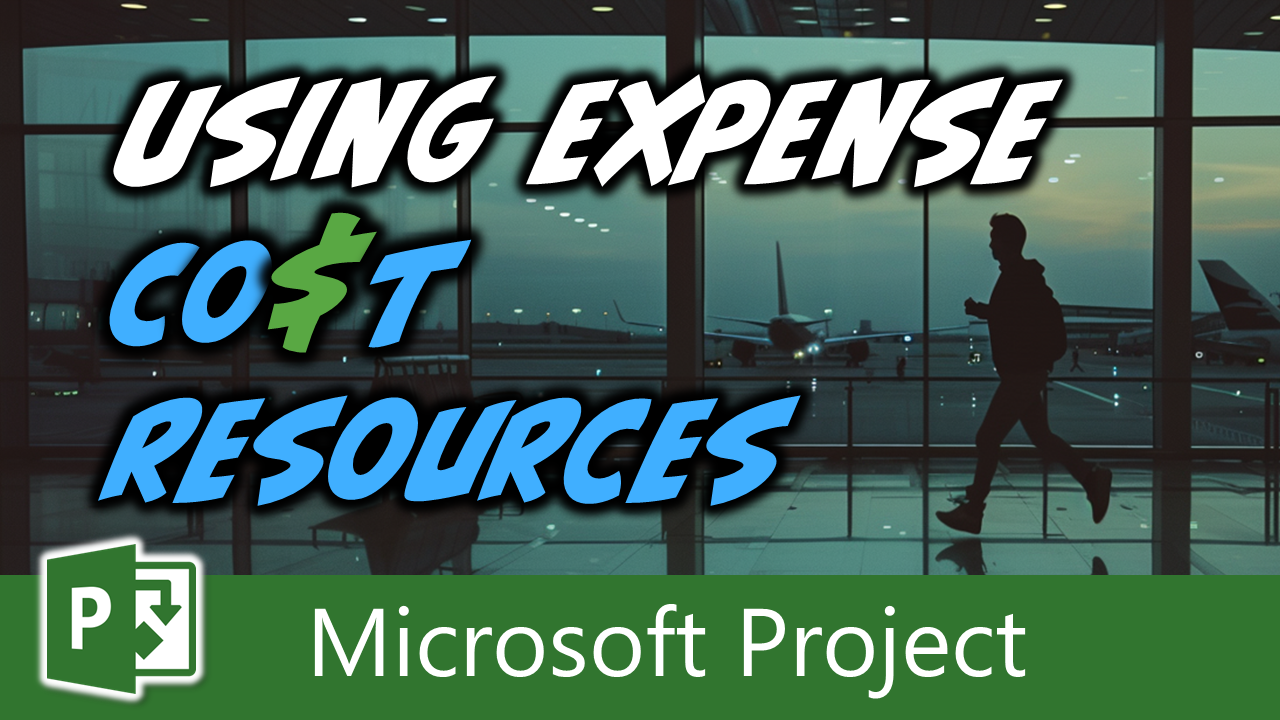
 Watch the Step-by-Step Video
Prefer to follow along visually? This video demonstrates the exact steps you’ll learn below using Microsoft Project Desktop.
At a Glance: How to Create and Assign Expense Cost Resources in Microsoft Project:
- Applies to: Microsoft Project Standard and Professional (2016, 2019, 2021, 2024, and subscription editions).
- Key Step / Takeaway 1: Step 1: Create an Expense Cost Resource
- Key Step / Takeaway 2: Step 2: Assign the Expense Cost Resource to Tasks
- Key Step / Takeaway 3: Finishing Up
- Best Practice: Follow the numbered step-by-step instructions below to apply this technique cleanly in your schedule.
Step 1: Create an Expense Cost Resource
In this example, I want to manage the cost for travel expenses for a team member named Ray Cobb, who needs to visit the Southwest Region office twice for his tasks in a project. Here’s how to create an Expense Cost resource:
- Apply the Resource Sheet view.
- Enter the name of your Expense Cost resource, such as “Travel Expense” for my example.
- Click the “Type” pick list and select the “Cost” item.
- In the Initials column, add the dollar sign character ($) at the end of the initials for each resource to indicate these are cost resources, such as TE$ for the Travel Expense resource.
Step 2: Assign the Expense Cost Resource to Tasks
Once the Expense Cost resource is created, you’ll need to assign it to tasks where additional costs will be incurred. Here’s how to do that:
- Apply to the Gantt Chart view.
- Select the task where you want to assign the Expense Cost resource and then display the Assign Resources dialog.
- Select the Expense Cost resource you want to assign and then click the “Assign” button.
- Enter the estimated expenditure in the Cost column for the Expense Cost resource. For Ray Cobb’s first trip, I will enter $2,450 in the Cost column. After entering the amount, press “Enter” to save it.
- Repeat the process for additional tasks.
- After you’ve assigned your Expense Cost resource, click the “Close” button in the Assign Resources dialog.
Finishing Up
And that’s how you create and assign Expense Cost resources in Microsoft Project. If you have questions, please add them in the “Leave a Reply” section below. Or if you watched the video, add your questions or comments there. Please subscribe to my YouTube channel and leave “Likes” if you like the videos.
If you would like to have a formal class on using Microsoft Project, here is a link for my classes.
Leave a Reply