Are you struggling to prepare your Microsoft Project schedule for printing or exporting to a PDF file? Many project managers still need to share clean, professional schedules with stakeholders — whether on paper or as a PDF.
In this article, I’ll show you how to print a project schedule step by step, focusing on printing a Microsoft Project Gantt chart with consistent, readable results every time. I’ll also share a lesser-known technique for inserting a manual page break, similar to what you may already be familiar with in Microsoft Word.
Bonus: Later in this article, I’ll also show you how to print a Microsoft Project schedule on one page using built-in print settings.
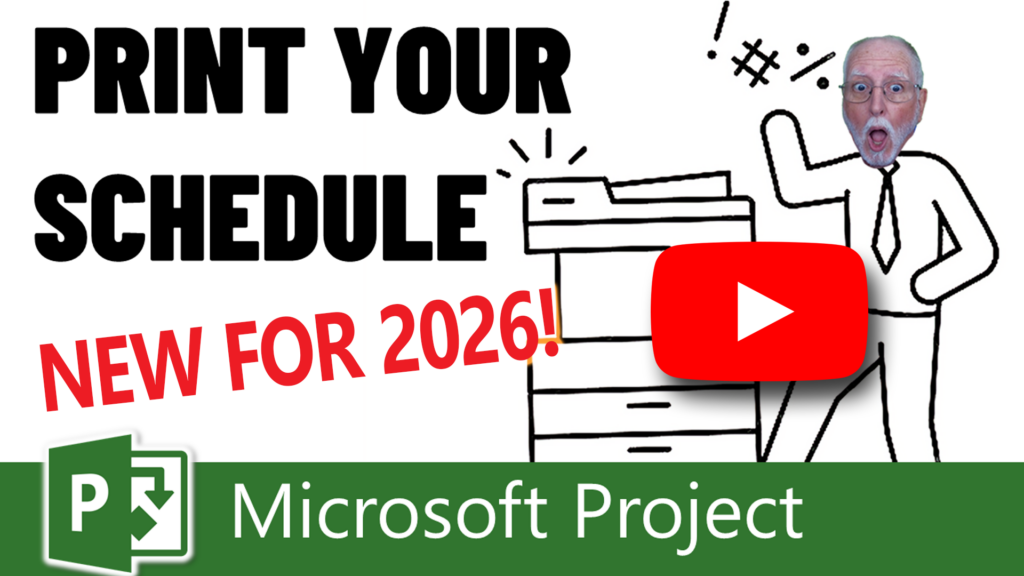

Watch the Step-by-Step Video
Prefer to follow along visually? This video demonstrates the exact steps you’ll learn below using Microsoft Project Desktop.
Step-by-Step: How to Print a Microsoft Project Gantt Chart (Project Schedule)
Before we jump into the details for how to print a project schedule, make sure you’re in the Gantt Chart view. Now, let’s break down the process into easy-to-follow steps.
Step 1: Apply the Gantt Chart View
First things first, apply the Gantt Chart view to your project. This will serve as the foundation for your printing or PDF export.
- Click on the “View” tab at the top
- Click the “Gantt Chart” Icon at the left
- Click the “Gantt Chart” built-in view

Step 2: Hide Columns
To make sure we have a clean print out, let’s remove any unnecessary columns that you don’t want to include in your printout. Right-click on the column headers you want to hide and select “Hide Column.” Adjust column widths to ensure everything fits neatly.
- Right click on the column you want to hide
- Then click the “Hide Colum”
- Repeat as necessary

Step 3: Position the Split Bar
Position the split bar exactly where you want it to appear in the printout. A useful trick: double-click the split bar after placing it near the desired column edge to dock it accurately.

Step 4: Count the Columns
Determine the number of columns you want to print on each page. But don’t forget to count all the columns, including any hidden ones! This is important for the next step.
Step 5: Optimize Zoom Level
Set the zoom level for the Gantt Chart screen to “Entire Project.” This helps reduce the number of pages printed. Don’t forget to examine the print preview to ensure it meets your expectations.

Step 6: Set Up: Print Page Setup
Navigate to the Print Page Setup dialog. You can access this by
- Click the “File” tab then “Print”
- Then click the “Page Setup” link at the lower right
- Then click the “View” tab in the dialogue box
- Last step that usually no one know about is check the box for the “Print first” then enter the number of columns you want to show.

Fine-Tuning the Printing Options
Now that your initial setup is complete, let’s fine-tune the printing options for perfection.
Step 7: Adjust Scaling
In the Page Setup dialog, find the “Scaling” section. Experiment with scaling options until you achieve the desired print size. This ensures legibility in your printout or PDF.

Step 8: Custom Headers and Footers
If you want to include a custom header or footer, access the header and footer settings in the Page Setup dialog. You can add text, fields, or other details to personalize your printout.

Step 9: Test Print or Save to PDF
Perform a test print or save your project as a PDF file to see how it looks. Ensure that everything aligns, columns are readable, and the overall layout meets your expectations. Adjust settings if necessary.
Saving Your Custom View
Now that your settings are perfect, it’s time to save your custom view for future use.
Step 10: Save the Custom View
Click the “Task” ribbon tab, click the “Gantt Chart” pick list button, and select the “Save View” option. Name your view something distinctive, like “Print View.” This custom view will save all the settings you’ve configured.

Restoring Default Settings
Lastly, after all your printing is done, you’ll want to restore the Gantt Chart view to its default settings.
Step 11: Reset to Default
Click the “Gantt Chart” pick list button again and choose “Reset to Default.” This will revert your Gantt Chart view back to its original settings, ready for your next project.
*Tip: Inserting Manual Page Breaks
Sometimes, you may want to insert a manual page break in your printout. Here’s how:
Step 12: Insert a Manual Page Break
Access the “File” tab, then go to “Options.” In the “Quick Access Toolbar” section, choose “All Commands” and find “Insert Page Break.” Add this command to your Quick Access Toolbar. Now, you can click this button to insert page breaks where needed.
**If you haven’t installed my custom Quick Access Toolbar, check out this article and there’s a video to show you the steps also.
At this point, you should have everything you need to print or export a clean Microsoft Project schedule using standard print settings. In the next section, I’ll share a bonus technique that shows how to fit a project schedule onto a single page when you need a concise, high-level view.
**Bonus: How to Print a Microsoft Project Schedule on One Page (Updated for 2026)
This method works best for executive reviews, status meetings, and quick schedule snapshots.
Goal: Fit your Microsoft Project schedule onto a single printed page or single-page PDF without losing readability.
Quick Steps: Print a Microsoft Project Schedule on One Page
- Switch to the Gantt Chart view
Make sure your project is displayed in the Gantt Chart view so tasks and timelines are visible. - Hide unnecessary columns
Remove columns that are not essential (such as Notes, Indicators, or custom fields).
Fewer columns = less horizontal width. - Adjust the timescale
Right-click the timescale and select a higher-level unit (Weeks or Months) to reduce width. - Set Page Orientation to Landscape
Go to File → Print → Page Setup and choose Landscape for maximum horizontal space. - Use Scaling to fit one page
In Page Setup, set scaling to Fit to: 1 page wide by 1 page tall.
This is the key step for printing on one page. - Preview before printing or exporting to PDF
Use Print Preview to confirm everything fits and remains readable.
Adjust zoom or columns if needed before final output.
Important Tip
If the schedule becomes too small to read:
- Reduce task count using filters, or
- Fit to 1 page wide by 2 pages tall for better readability while still minimizing pages.
When This Works Best
- Short to medium schedules
- High-level reporting
- Executive or stakeholder reviews
- Single-page PDF handouts
When It Doesn’t
- Very large or highly detailed schedules
- Daily or hourly timescales
- Schedules with many custom fields
In those cases, printing across multiple pages usually produces better results.
Frequently Asked Questions
Congratulations! You’ve now seen how to prepare a Microsoft Project schedule for printing or exporting to a PDF file. By customizing your view, adjusting print settings, and using page breaks when needed, you can produce polished, professional project documentation with confidence.
If you have questions about printing Microsoft Project schedules, please add them in the Comments section below. If you watched the video, feel free to leave your questions or feedback there as well. And if you found this article helpful, please subscribe to my YouTube channel and click “Like” on the video.
If you’re interested in a more in-depth, hands-on learning experience, you can find additional information about my Microsoft Project training classes here.


Leave a Reply